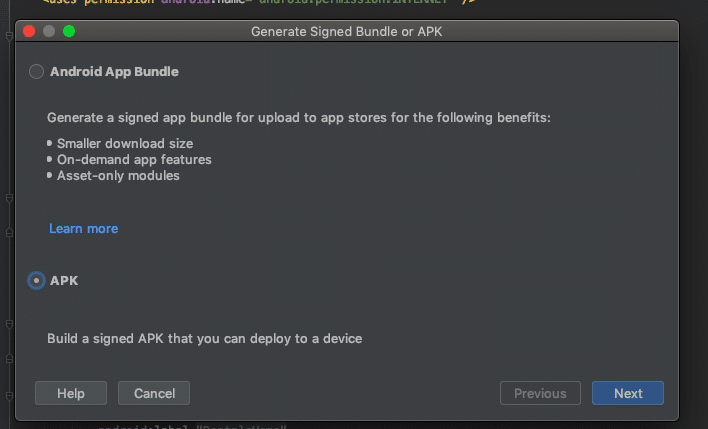
To convert an APK to an AAB (Android App Bundle) in Android Studio, follow these steps. The Android App Bundle (AAB) format is the new standard for distributing apps via Google Play, offering benefits like optimized APK generation for different device configurations and smaller download sizes.
Steps to Convert APK to AAB in Android Studio:
1. Open Your Project in Android Studio:
- Open the existing project that you want to convert from APK to AAB.
2. Update Gradle Version (If Necessary):
- Ensure you’re using the latest Gradle version that supports building AABs. You can check your
build.gradlefile (project-level) and update it if necessary. Here’s an example of what it might look like:
#groovy
// In the root build.gradle file
classpath 'com.android.tools.build:gradle:7.0.0' // Example: Gradle Plugin for AAB support- Update the Gradle wrapper if needed by modifying the
gradle-wrapper.propertiesfile:
#props
distributionUrl=https\://services.gradle.org/distributions/gradle-7.2-all.zip
3. Generate the AAB:
- In Android Studio, go to the Build menu in the top navigation bar.
- Select Build Bundle(s) / APK(s) > Build Bundle. This option will generate an AAB file.
4. Wait for the Build Process to Complete:
- Android Studio will now build your app as an AAB file. It will take a few moments depending on the project size and configuration.
5. Locate the AAB File:
- Once the build is complete, the AAB file will be located in the
outputfolder of your project. Typically, it can be found at:
#code
<project-root>/app/build/outputs/bundle/release/app-release.aab
If you generated a debug AAB, the path would be:
#code
<project-root>/app/build/outputs/bundle/debug/app-debug.aab
6. Sign the AAB (If Necessary):
If you’re preparing the AAB for release (for submission to Google Play), you’ll need to sign the AAB with your release key.
- To sign the app, you must configure signingConfig in the
build.gradle(app-level) file:
#android
android {
    ...
    signingConfigs {
        release {
            storeFile file("<path-to-keystore>")
            storePassword "<keystore-password>"
            keyAlias "<key-alias>"
            keyPassword "<key-password>"
        }
    }

    buildTypes {
        release {
            signingConfig signingConfigs.release
            // Other options like minifyEnabled or proguard rules can be added here.
        }
    }
}
- After configuring the signing options, rebuild the AAB using Build > Build Bundle to generate a signed AAB file.

7. Upload to Google Play Console:
Once you have the AAB file, you can upload it to the Google Play Console for distribution. This is the preferred method for app distribution as AAB optimizes app delivery for different device configurations.
- Sign in to the Google Play Console.
- Select your app and go to the Release section.
- Choose Production or a relevant track.
- Click on Create Release and upload your .aab file.
Review:
Converting from APK to AAB in Android Studio is simple and involves the following main steps:
- Update your project if needed.
- Use Build Bundle to generate the AAB.
- Optionally, sign the AAB for release.
- Upload the AAB to Google Play.
The Android App Bundle is the new standard for app distribution, so it’s important to get comfortable with this format for future development and deployment.


